Saturday, 21 January 2012

What Next?

We are planning our next project.  We like playing with the EL wire, so we think we are going to try a another sign.  Here are our ideas.  Let us know which you think we should do next.

Lighthouse
 Kokopelli
saloon sign

saloon sign #2
Birch Bay
Crabs

Tiki 2


Tuesday, 17 January 2012

Let There Be Light!

We have just almost finished the TIKI. The last step that we need to do is to make the teeth blink and make the eyes blink. The EL-wire will take longer then we thought to get here to finish the TIKI because of Chinese New Year. 


Sunday, 15 January 2012

Measure Once Cut Twice!

We almost finished wiring TIKI. The problem is we did not have enough wire. M says that we may have been shorted on the EL-wire. Next time we should measure what we get. Other then the last touches we need to make it looks pretty good. What we are going to do is order more RED EL-wire for us to finish what we were doing. We are going to make the teeth blink as well as the inside of the eyes.


Nailed it, Wired it and Hot Glued It!

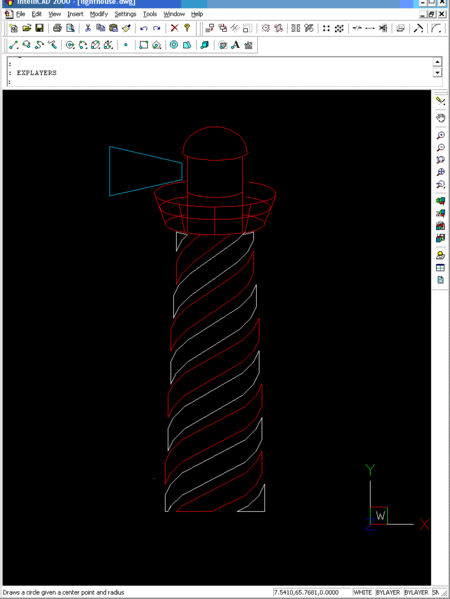
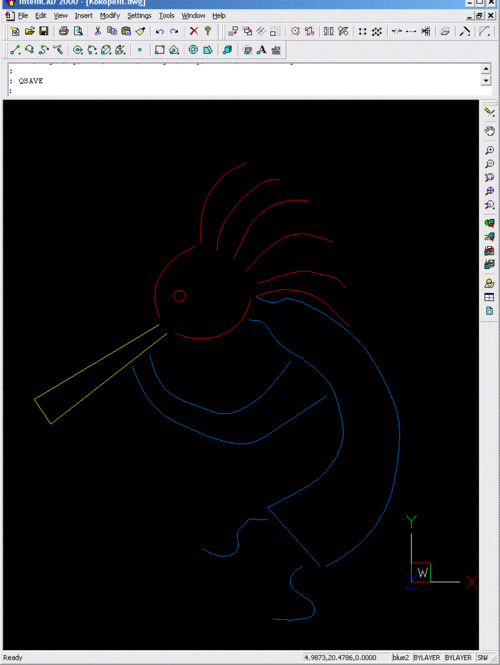
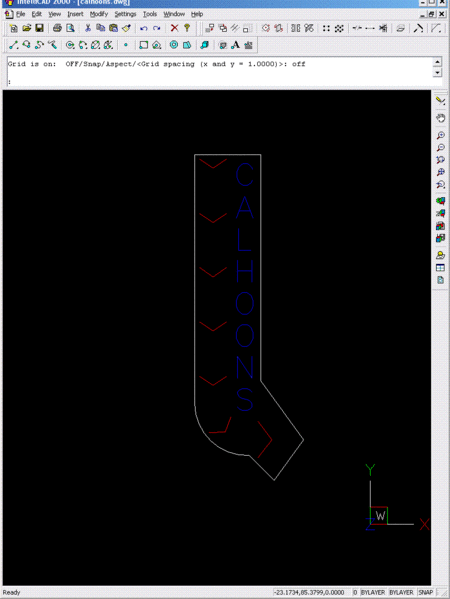
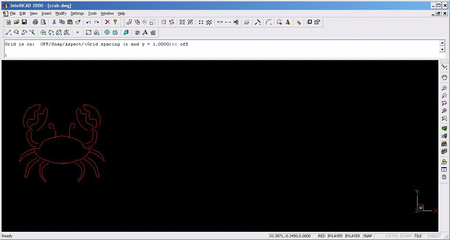
EL-wire comes into progress. We have just started putting on the EL-wire to make our TIKI come alive.
TOOLS:
  • heat gun
  • hot glue gun
  • hammer
  • utility knife
MATERIALS:
  •  #15x1-1/2inch finishing nails
  • glue sticks
  • EL-wire(the most important thing you will be needing)
We used the nails to stretch the wires between the nails to keep them strait.
Its a little chilly in M's workshop and the EL-wire is kind of thick and wants to keep the coil shape that it came in. So we used the heat gun to make the wire more flexible. A heat gun is basically a much more hot blow drier.


We had to glue the EL-wire to the piece of wood to make it stay. We glued it by stretching the EL-wire between  two nails, and applying the hot glue wile its still tight. We glued to wired to the sheet of wood by running hot glue under the EL-wire. We didn't need hot glue on the four wires you see that are strait because there are two holes that they go through to make them strait. But we applied a little bit of glue to them anyways.

When we had to bend the wire to make the sharp corners. We used the heat gun to soften the EL-wire to make the corners work.

This is what it looks like underneath the board. We are trying to hide the EL-wire from showing on the front by going onto the backside.

Holy Holes

We have just finished drilling the holes for the EL-wire to go through. When we want to hide the wire, it will go into the hole to go behind the sheet of wood. The wire that we have is 4.3m, so we drilled 13/64 inch holes. We then drilled 11/32 inch holes for two EL-wires to go in and out of.


Saturday, 14 January 2012

Carbon Tracing

We transferred this picture of the TIKI onto the piece of wood. We taped the picture of the TIKI onto the piece of plywood. Afterwords, we put the Carbon Paper underneath the pieces of paper(Carbon Paper is the same width and length of a normal piece of paper). We then did these steps:
  • took a pencil and traced the pattern and overlapped the carbon paper with the image
  • we had to press on the pencil hard enough to get black marks onto the piece of wood
  • we had to repeat that for each and every piece of paper.(that will take FOREVER)
After we were done Tracing this is how it looked.

Carbon Paper? Whats That?

Went to transfer the image to the backer, and found out kids (and some clerks) don't have a clue what carbon paper is .  Finally found some at staples.  Now "m" will tell you how we transferred the image to the backer.