Tuesday 6 November 2012

Vinyl Vinyl Vinyl


   This project was for me to put in my room, M helped with this but as we all know I did most of the work. This doesn't take much work, all you need is a vinyl cutter and vinyl. It is very fun to do especially when you get to make your own T-shirt. In this case we made one for my dresser and it worked great, it takes practice to be able to get your design looking like an expert did it but in this case there is some bumps but its not like anybody will notice because there just going to be looking at the design.

Monday 8 October 2012

Toney's Beach Cafe

 This is one that we did for our neighbor T. Some people actually thought that it was a real cafe. The first picture is the concept version(fake) the one below it is the real thing.


All Together Now

We have finished with EL-wire for the summer and these are most of our projects on our cabin porch.


Re-brand name

We change the name of the bar sign to TIKI MIKES. You remember how we had the coat hangers to raise the EL-wire letters above the plywood? Well we didn't do that this time, it didn't look any better. This time we just zap strapped the letters to the plywood.


T2


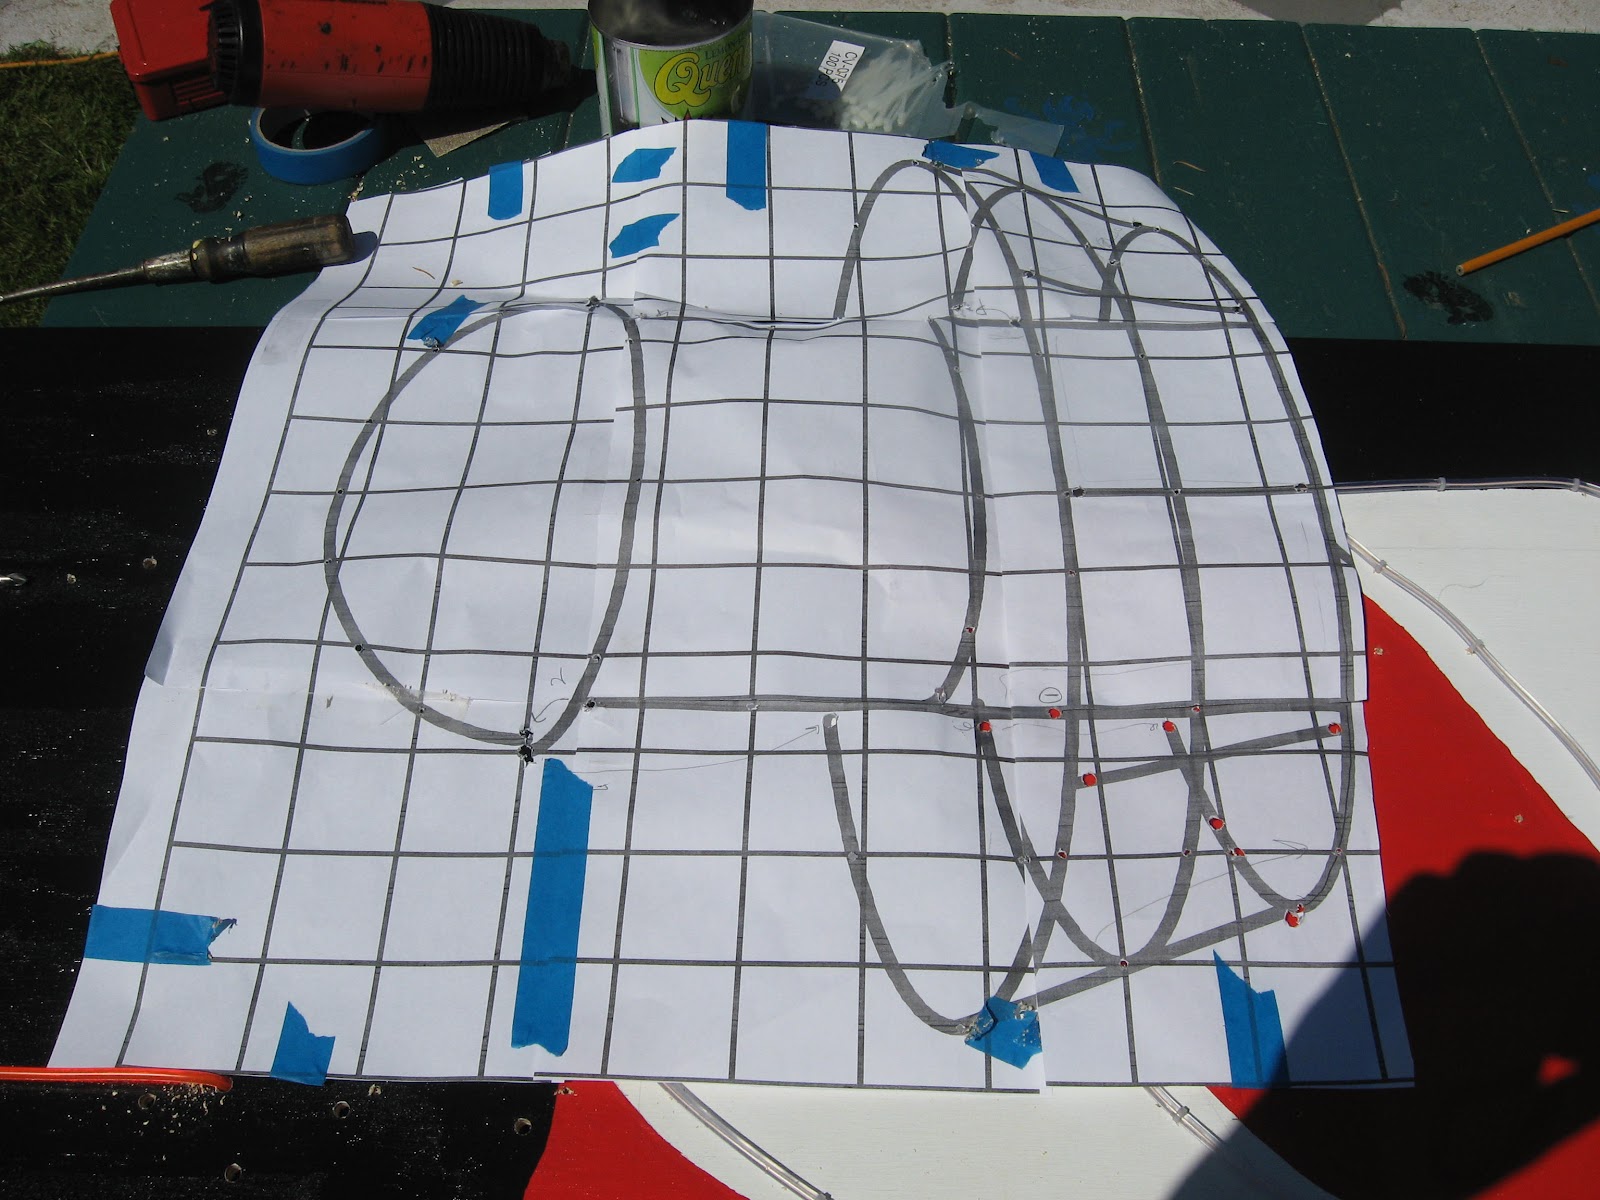
We thought T1 needed a friend so we made T2. T2 is different from T1. T2 is oval shape, wile T1 is square shaped. T2 uses zap straps rather then hot glue because it worked quite well on the light house and birch bay sign.
T2 is oval shaped so we had to make the 1 by 2's around the edges curve to fit the shape of the wood. We made the 1 by 2's curve by cutting 3/4 of the way into the wood every inch. This made the wood easier to bend.
Little L helped us with this project.


Sunday 17 June 2012

Show Me the Way


This one was a really simple one we took and idea from a sign down in birch bay.


Light the way

What we did different on this one is that this one was going to be out side in the light and we didn't want to use hot glue, we also did more painting on this one.
  •  First we had a piece of plywood 2 feet by 6 feet. 
  • We painted it white. 
  • We drew the curves on the piece of plywood. 
  • We painted every second curve red. 
  • We painted the outline black.


  • We put a frame around it with 1 inch by 2 inch boards to stop it from warping and make it more rigid.
  • We drilled one big hole in each of the stripes so we could weave the wire in and out of the board
  • Then we put little holes for putting tie straps through the board to hold the wire
  •  We created a print out of the top of the lighthouse and we used this design to help us figure out where the rest of the holes go for holding the EL-wire together.


  • Using the tie straps we held together the El-wire onto the board to make the out line of the light house. 
  • We had some trouble with the EL-wire in the corners of the light house.


  •  We used wire coat hangers to mount the yellow wire to the board so its not touching any of the other wire. 


**************Missing picture******************

  • Next we hooked the sequencer up so that the lights would go one at a time but they ended up going to fast. M is going to order some parts that will help fix it 


***************************Missing picture AGAIN***********************************